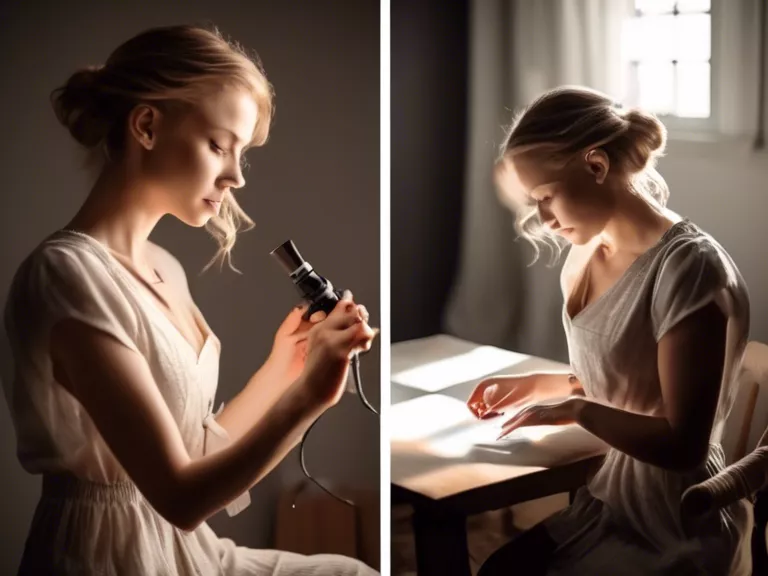
Natural light can be a powerful tool for capturing stunning photos that look professional and vibrant. By utilizing the light sources available to you in outdoor settings or near windows, you can achieve beautiful results without the need for expensive artificial lighting equipment. Here are some tips on how to take professional-quality photos using natural light sources:
Choose the Right Time of Day: The best times for natural light photography are typically during the golden hours - the first hour after sunrise and the last hour before sunset. During these times, the light is softer, warmer, and more flattering for portraits or landscapes.
Position Your Subject: Pay attention to how the light falls on your subject and adjust their positioning accordingly. Side lighting can create depth and shadows, while front or back lighting can create different moods and effects.
Use Reflectors or Diffusers: If the natural light is too harsh or direct, you can soften it by using reflectors or diffusers. Reflectors bounce light onto your subject, while diffusers help to scatter or soften the light for a more flattering look.
Watch for Shadows: Be mindful of any unwanted shadows that may be created by natural light sources. Position your subject or adjust your shooting angle to minimize harsh shadows on their face or body.
Experiment and Practice: The best way to improve your natural light photography skills is to experiment with different lighting conditions and practice regularly. Take the time to study how light interacts with your subjects and learn how to make adjustments to achieve the desired effect.
By following these tips and guidelines, you can elevate your photography game and capture professional-quality photos using natural light sources.


